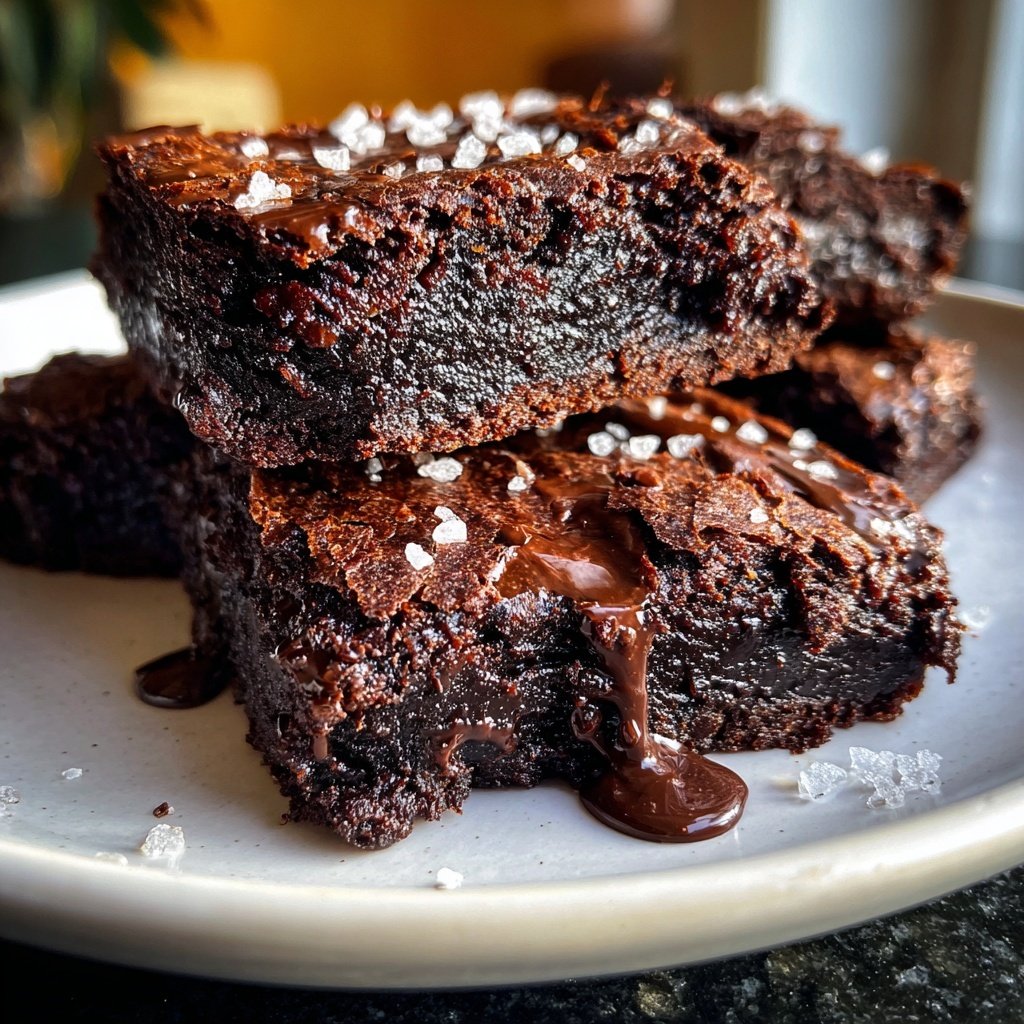
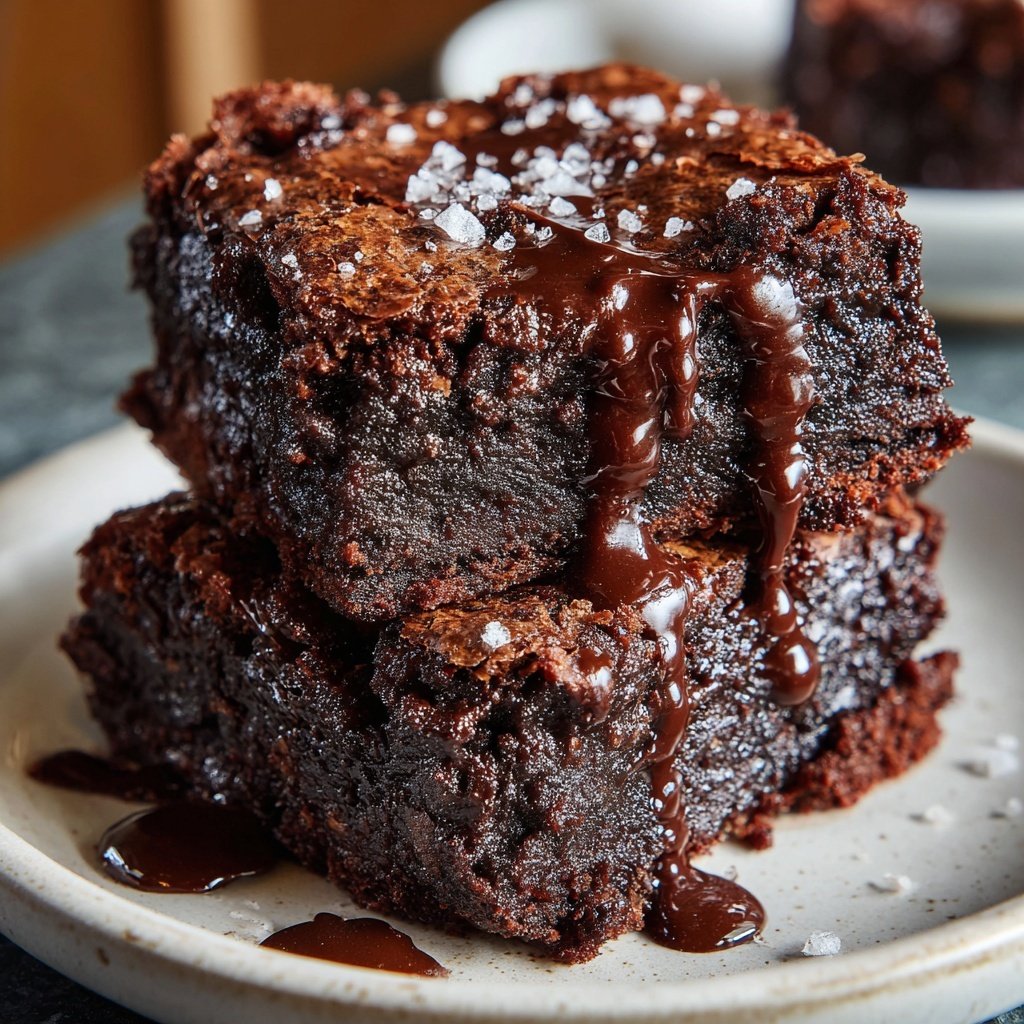
Rich Brownies Made With Starter
Highlighted under: Oven Meals
I absolutely love baking brownies, and this recipe using starter has become my go-to for creating that perfect sweet treat. The addition of sourdough starter imparts a unique depth of flavor and moistness that you just can’t achieve with traditional recipes. I was pleasantly surprised by how easy it was to integrate the starter into the brownie batter while enhancing the overall texture. Every time I bake these, I’m met with smiles and compliments. Trust me, once you try these rich brownies, they will quickly become a favorite in your home.
Baking these rich brownies with sourdough starter has transformed my regular brownie routine into something truly special. The key was finding the right balance of chocolate and sugar while allowing the starter to enhance the flavors. I experimented until I found that a mix of high-quality cocoa powder and semi-sweet chocolate yielded the richest taste paired with perfect texture.
One of my favorite details is using brown sugar, which deepens the sweetness and adds a hint of caramel flavor that complements the chocolate so well. Additionally, I made sure to fold in chocolate chips at the end for that extra gooeyness. It’s the little things that make these brownies irresistible!
Why You Will Love These Brownies
- Intensely rich chocolate flavor balanced perfectly with a hint of sourness from the starter.
- Incredibly moist and fudgy texture that will have you reaching for seconds.
- Easy to whip up with pantry staples, perfect for last-minute baking needs.
Understanding the Role of Sourdough Starter
In this brownie recipe, sourdough starter isn’t just a flavor booster; it enhances the brownie’s texture, making it incredibly moist and rich. The natural acidity from the starter helps to balance the sweetness, resulting in a delicious contrast that elevates the chocolate flavor. You’ll want to ensure your starter is active and bubbly for the best results; it should ideally be fed at least 4-8 hours before using it in this recipe.
When you fold the sourdough starter into the batter, it’s important to do so gently to maintain the airiness. This step is key to achieving that fudgy texture. If your starter is too thick, you can add a tablespoon of water to get it to a more spreadable consistency; just be cautious not to add too much, as this could alter the final texture.
Baking Tips for Perfect Brownies
For brownies that are beautifully fudgy yet fully cooked, baking time is crucial. Start checking for doneness by inserting a toothpick around the 25-minute mark; you want it to come out with a few moist crumbs, not completely clean. This ensures that the center remains soft and gooey. If the edges look set but the center still seems wet, try rotating the pan for even heat distribution and bake for an additional 3-5 minutes as needed.
Letting the brownies cool for at least 10 minutes before slicing is essential to avoid a crumbly mess. You can even refrigerate them for an hour if you're looking for clean, neat squares. For an extra touch, consider sprinkling flaky sea salt on top before baking, which enhances the chocolate flavor beautifully.
Ingredients
For the Brownies
- 1 cup all-purpose flour
- 1/2 cup unsweetened cocoa powder
- 1/2 teaspoon baking powder
- 1/4 teaspoon salt
- 1/2 cup unsalted butter, melted
- 1 cup brown sugar
- 1/2 cup granulated sugar
- 3 large eggs
- 1 teaspoon vanilla extract
- 1 cup sourdough starter
- 1 cup semi-sweet chocolate chips
Instructions
Instructions
Prepare the Oven and Pan
Preheat your oven to 350°F (175°C). Grease and line an 8x8 inch baking pan with parchment paper.
Mix Dry Ingredients
In a medium bowl, whisk together the flour, cocoa powder, baking powder, and salt until well combined.
Combine Wet Ingredients
In a large mixing bowl, combine melted butter, brown sugar, and granulated sugar. Whisk in eggs and vanilla extract until smooth. Stir in the sourdough starter.
Combine Mixtures
Gradually add the dry ingredients to the wet ingredients, mixing until just combined. Fold in the chocolate chips.
Bake the Brownies
Pour the batter into the prepared baking pan and spread it evenly. Bake for 25 minutes or until a toothpick comes out mostly clean.
Cool and Slice
Allow brownies to cool in the pan for at least 10 minutes before transferring them to a wire rack. Slice into squares and enjoy!
Pro Tips
- For an extra decadent treat, serve these brownies warm with a scoop of vanilla ice cream on top.
Storage and Freezing
These brownies store exceptionally well, making them perfect for meal prep or to satisfy late-night cravings. After they have cooled completely, store them in an airtight container at room temperature for up to 4 days. If you want to keep them longer, you can freeze them for up to 3 months. Wrap individual brownies in plastic wrap, then place them in a freezer-safe bag for easy access.
When you’re ready to enjoy a frozen brownie, simply take one out and let it thaw in the fridge for a few hours or microwave it for 10-15 seconds. This will revive the fudginess and flavor, making it seem freshly baked.
Serving Suggestions
These rich brownies can be served as is, allowing their chocolatey goodness to shine through. However, for a decadent experience, pair them with a scoop of vanilla ice cream or a dollop of homemade whipped cream. Drizzling warm chocolate sauce on top will also elevate this treat, making it feel even more indulgent.
For special occasions, consider adding toppings like crushed nuts or sprinkles while the brownies are still warm. These not only add flavor and texture but also make for an attractive presentation. If you’re feeling adventurous, try adding a layer of caramel or peanut butter swirls into the batter before baking for a delightful twist.
Questions About Recipes
→ Can I use regular yogurt instead of sourdough starter?
While sourdough starter adds a unique flavor, you can substitute with yogurt, but the taste will differ.
→ What can I do with leftover sourdough starter?
You can use it in pancakes, waffles, or discard recipes like bread or muffins.
→ Can I make these brownies gluten-free?
Yes, you can substitute all-purpose flour with a gluten-free flour blend.
→ How should I store these brownies?
Store them in an airtight container at room temperature for up to 5 days or refrigerate for longer freshness.
Rich Brownies Made With Starter
Created by: Yvette Harrington
Recipe Type: Oven Meals
Skill Level: Intermediate
Final Quantity: 16 brownies
What You'll Need
For the Brownies
- 1 cup all-purpose flour
- 1/2 cup unsweetened cocoa powder
- 1/2 teaspoon baking powder
- 1/4 teaspoon salt
- 1/2 cup unsalted butter, melted
- 1 cup brown sugar
- 1/2 cup granulated sugar
- 3 large eggs
- 1 teaspoon vanilla extract
- 1 cup sourdough starter
- 1 cup semi-sweet chocolate chips
How-To Steps
Preheat your oven to 350°F (175°C). Grease and line an 8x8 inch baking pan with parchment paper.
In a medium bowl, whisk together the flour, cocoa powder, baking powder, and salt until well combined.
In a large mixing bowl, combine melted butter, brown sugar, and granulated sugar. Whisk in eggs and vanilla extract until smooth. Stir in the sourdough starter.
Gradually add the dry ingredients to the wet ingredients, mixing until just combined. Fold in the chocolate chips.
Pour the batter into the prepared baking pan and spread it evenly. Bake for 25 minutes or until a toothpick comes out mostly clean.
Allow brownies to cool in the pan for at least 10 minutes before transferring them to a wire rack. Slice into squares and enjoy!
Extra Tips
- For an extra decadent treat, serve these brownies warm with a scoop of vanilla ice cream on top.
Nutritional Breakdown (Per Serving)
- Calories: 380 kcal
- Total Fat: 26g
- Saturated Fat: 15g
- Cholesterol: 195mg
- Sodium: 85mg
- Total Carbohydrates: 32g
- Dietary Fiber: 3g
- Sugars: 24g
- Protein: 6g