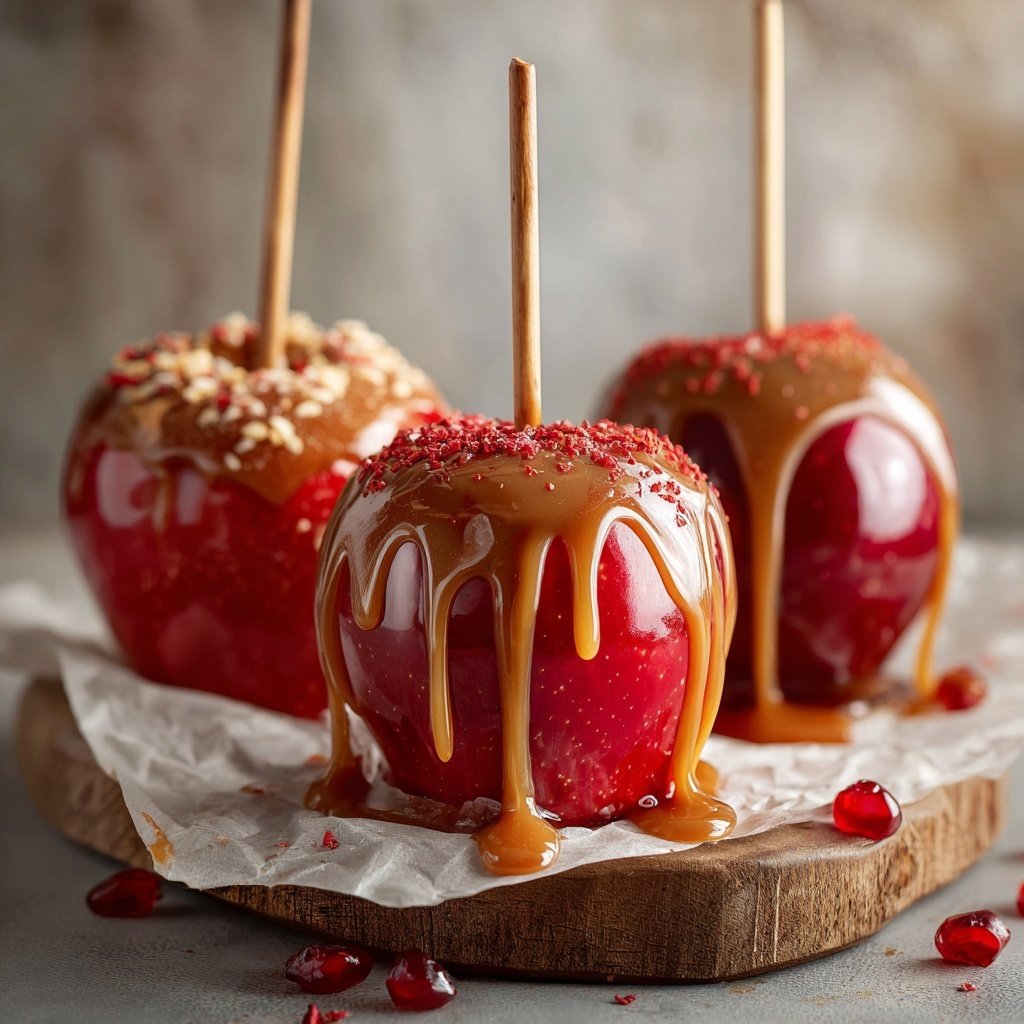
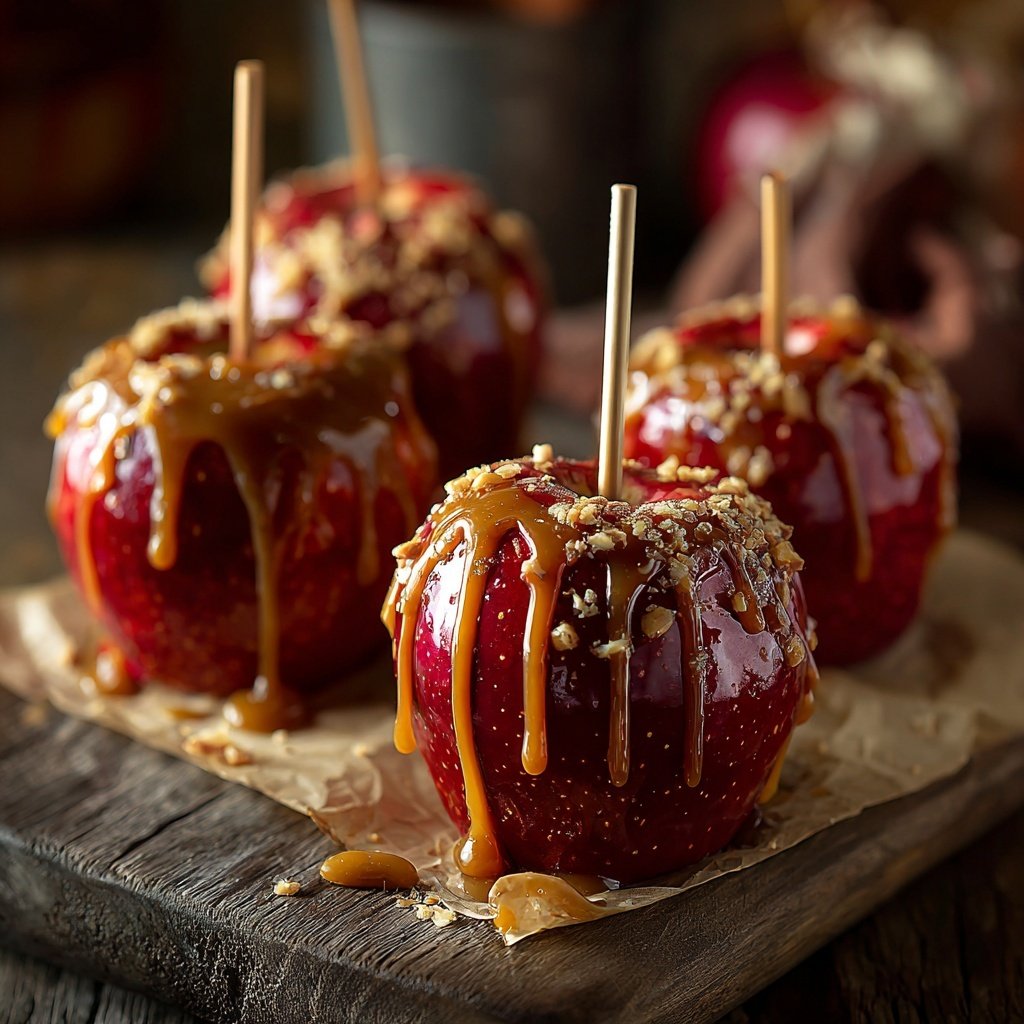
Caramel Dipped Candy Apples
Highlighted under: Festive Meals
When I think of fall festivities, one treat that comes to mind is caramel dipped candy apples. I love the combination of the crunchy apple coated in sticky, sweet caramel. It's a nostalgic treat that reminds me of family outings at the fair. Making these apples at home is easier than I ever thought, and I can adjust the toppings to suit my taste. From crushed nuts to sprinkles, the possibilities are endless, making it a fun project for everyone to enjoy.
Making caramel dipped candy apples took me back to when my family would visit the county fair each year. I remember the excitement of getting a freshly made apple, the caramel warm and sticky, and the sweet aroma lingering in the air. I’ve experimented with different caramel recipes over the years, and I’ve found that using high-quality ingredients makes a noticeable difference in flavor and texture.
One tip I’ve learned is to ensure your apples are very dry before dipping them in caramel. Any moisture can cause the caramel to slide off, so I always make sure to pat them down with a clean towel. This little detail has truly elevated my candy apple game!
Why You'll Love These
- The irresistible combination of sweet caramel and tart apple
- Customization with toppings like nuts, chocolate, and sprinkles
- Perfect for family gatherings, parties, or a cozy night in
Choosing the Right Apples
The selection of apples is crucial for achieving the perfect balance of flavors in caramel dipped candy apples. Tart varieties like Granny Smith provide a refreshing contrast to the sweet caramel, while sweeter options like Fuji can satisfy those with a sweeter tooth. Whatever type of apple you choose, make sure they are crisp and firm; this will prevent the apples from becoming mushy after being dipped in hot caramel.
Before dipping, it's essential to wash the apples thoroughly to remove any wax, which can prevent the caramel from adhering properly. I usually scrub them under warm water and use a gentle sponge for this purpose. Once cleaned, drying them completely ensures that the caramel sticks well and adheres to the surface for a smooth finish without sliding off.
Mastering the Caramel
Creating the caramel is where the magic happens, and it’s crucial to keep an eye on the heat. Use a medium saucepan over medium heat and stir constantly until the butter melts and sugar dissolves. Once it reaches a boil, stop stirring to allow the sugar to reach the right consistency. A perfect caramel for dipping should be glossy and drape off the apples in a thick layer, so monitoring its visual cues is key.
If you find that your caramel is too thick, you can adjust its consistency by adding a splash of cream during cooking. This helps achieve that silky texture. If your caramel seems too thin or runs off the apples too quickly, returning it to the heat for a minute or two can help it thicken up again without burning.
Storage and Serving Suggestions
Once your caramel apples are set, storing them properly is important to maintain their texture. Ideally, keep them in a cool, dry place, ideally in a fridge, to prevent the caramel from becoming overly sticky or melting. They can last for up to a week in an airtight container, but they're most enjoyable within the first few days after making them when the caramel is at its freshest.
For a fun serving twist, try slicing the caramel apples into wedges before serving, making them easy to enjoy as finger food at a gathering. You can also pair them with a side of mixed nuts or popcorn for a dessert platter that offers a variety of textures and flavors, turning a simple treat into a festive display.
Ingredients
Ingredients
For the caramel
- 2 cups granulated sugar
- 1/2 cup unsalted butter
- 1 cup heavy cream
- 1/4 cup corn syrup
- 1 teaspoon vanilla extract
- 1/4 teaspoon salt
For the apples
- 6 medium apples (such as Granny Smith or Fuji)
- 6 wooden sticks or popsicle sticks
- Toppings of choice (crushed nuts, sprinkles, chocolate chips)
Instructions
Instructions
Prepare the apples
Wash and dry the apples thoroughly. Remove any wax coating by scrubbing lightly if needed. Insert a wooden stick into the top of each apple.
Make the caramel
In a medium saucepan, combine sugar, butter, and corn syrup over medium heat. Stir constantly until the butter melts and the sugar dissolves. Bring to a boil, then stop stirring and allow it to bubble for about 5 minutes.
Add cream and flavoring
Carefully pour in the heavy cream, vanilla extract, and salt. Stir to combine, cooking for another 3-5 minutes until smooth and slightly thickened.
Dip the apples
Remove the caramel from heat and let it cool slightly. Hold each apple by the stick and dip it into the caramel, rotating to coat. Allow excess caramel to drip off.
Add toppings
If desired, roll or sprinkle the dipped apples with your chosen toppings before placing them on a parchment-lined baking sheet.
Let cool
Allow the caramel apples to cool at room temperature until the caramel sets, about 30 minutes. Enjoy!
Pro Tips
- You can speed up the cooling process by placing the dipped apples in the refrigerator for about 10 minutes. Ensure the caramel is not too hot, or it may slide off the apples. Experiment with different apple varieties for a unique taste.
Variations on Toppings
The beauty of caramel dipped apples lies in the variety of toppings you can use. Popular choices include crushed nuts like pecans or almonds for added crunch, while drizzling melted chocolate or white chocolate over the top adds a luxurious touch. If you’re feeling adventurous, consider using crushed cookies, sprinkles, or even toasted coconut to cater to different preferences and dietary needs.
If you want to appeal to more than just the traditional flavors, you can also experiment with flavored toppings like caramel popcorn or even candy corn during Halloween. Simply press the toppings onto the caramel before it sets for optimal adhesion.
Troubleshooting Common Issues
If your caramel is too hard to dip the apples into after cooling, it may have been cooked for too long. If this happens, simply return the pot to low heat and add a small amount of cream or water, stirring gently until it softens sufficiently for dipping. If you notice separation in the caramel after dipping, it could be due to excess moisture on the apples; ensure they're fully dried before dipping.
Another common struggle is sticking apples—if the coated apples are sticking to the parchment paper or baking sheet, allow them to cool longer before trying to remove them. For safer removal, lightly oiling the parchment paper before placing the apples can prevent sticking and create a smoother serving experience.
Scaling the Recipe
If you’re planning a larger gathering, scaling up the recipe is straightforward. Just maintain the same ratios of caramel ingredients, but use a larger pot to avoid overflowing. When working with multiple apples, I recommend dipping them in batches to allow for even coating and thorough cooling.
For parties or festive occasions, consider setting up a caramel apple bar with a variety of toppings and dips. This allows guests to DIY their apples, creating a fun and interactive experience that enhances the enjoyment of your finished product. Just keep an eye on the caramel temperature, as larger quantities may require more attention.
Questions About Recipes
→ Can I use pre-made caramel for this recipe?
Yes, you can use pre-made caramel, but making it from scratch gives a fresher taste and allows you to control the texture.
→ How do I store leftover caramel dipped apples?
Store them in a cool, dry place in an airtight container for up to 2 days. Avoid refrigerating as it can make the caramel sticky.
→ What types of apples are best?
Firmer apples like Granny Smith, Fuji, or Honeycrisp work best, as they provide a nice crunch against the soft caramel.
→ Can I add flavoring to the caramel?
Absolutely! You can add a teaspoon of cinnamon, nutmeg, or even a splash of flavored extract to customize your caramel.
Caramel Dipped Candy Apples
Created by: Yvette Harrington
Recipe Type: Festive Meals
Skill Level: Beginner
Final Quantity: 6 servings
What You'll Need
For the caramel
- 2 cups granulated sugar
- 1/2 cup unsalted butter
- 1 cup heavy cream
- 1/4 cup corn syrup
- 1 teaspoon vanilla extract
- 1/4 teaspoon salt
For the apples
- 6 medium apples (such as Granny Smith or Fuji)
- 6 wooden sticks or popsicle sticks
- Toppings of choice (crushed nuts, sprinkles, chocolate chips)
How-To Steps
Wash and dry the apples thoroughly. Remove any wax coating by scrubbing lightly if needed. Insert a wooden stick into the top of each apple.
In a medium saucepan, combine sugar, butter, and corn syrup over medium heat. Stir constantly until the butter melts and the sugar dissolves. Bring to a boil, then stop stirring and allow it to bubble for about 5 minutes.
Carefully pour in the heavy cream, vanilla extract, and salt. Stir to combine, cooking for another 3-5 minutes until smooth and slightly thickened.
Remove the caramel from heat and let it cool slightly. Hold each apple by the stick and dip it into the caramel, rotating to coat. Allow excess caramel to drip off.
If desired, roll or sprinkle the dipped apples with your chosen toppings before placing them on a parchment-lined baking sheet.
Allow the caramel apples to cool at room temperature until the caramel sets, about 30 minutes. Enjoy!
Extra Tips
- You can speed up the cooling process by placing the dipped apples in the refrigerator for about 10 minutes. Ensure the caramel is not too hot, or it may slide off the apples. Experiment with different apple varieties for a unique taste.
Nutritional Breakdown (Per Serving)
- Calories: 220 kcal
- Total Fat: 9g
- Saturated Fat: 5g
- Cholesterol: 30mg
- Sodium: 20mg
- Total Carbohydrates: 34g
- Dietary Fiber: 3g
- Sugars: 26g
- Protein: 1g